Best Website Builder
I test every website builder so you don’t have to. These are my rankings of the best website builders in 2025.
Our work is supported by affiliate commissions. Learn More
By Juhil Mendpara | Updated Feb 24 2025
Squarespace has consistently been our top recommended website builder. And after looking at the latest developments and upcoming features they announced in the Squarespace Refresh 2025, it’s seemingly only getting better in 2025.
This all-in-one platform offers robust features, beautiful templates, and excellent design flexibility to make a solid website of any type, including for small businesses, bloggers, portfolios, online stores, and more.
Squarespace’s standout element is its intuitive and thoughtful design. So, you probably don’t even need this guide to launch a successful Squarespace website, but…
This clear step-by-step guide will save you time and show some helpful tips to perfect your website. Let’s see how to launch a successful Squarespace site in 2025.
Regardless of the website builder, your website goal will inform every design and content decision you make. You can solve every website question by asking: “will this help accomplish the goal?”
Here are some broad example goals:
It can be helpful to plan out the structure for your website. See what pages help you achieve your goals.
Most websites include a Home, About, Services/Products, Blog, and Contact page. Outlining this in advance will make the building process smoother.
Do not overcomplicate it — you can use a tool like Gloomaps or XMind to plan it visually.
Here’s how our site structure would look, for example:

Yours can be much more simple.
Squarespace has 180 free templates across website types like blogs, ecommerce, portfolios, etc., and topics like photography, art, wedding, fitness, food, etc. You also have the option to choose from hundreds more paid templates from third-party designers. Plus, obviously, you can start with a blank page.
Here are a couple of examples (of Squarespace templates for interior designers):

Example of a free Squarespace template for interior designers.

Example of a paid Squarespace template for interior designers.
For the free templates, you can follow Squarespace’s onboarding process, and you’ll be presented with suitable options. But if you want a more comprehensive look at all the available template options, including the paid ones…
We have analyzed 1000+ templates to create curated collections of Squarespace templates for blogs, portfolios, ecommerce, personal sites, and many more. Check out the collection that fits your website type & category to pick the best template.
It’s time to turn the pre-defined template into your website!
Tip: Look at successfully-designed websites in your industry for inspiration if you don’t have a style or structure in mind.
After selecting a template, customize its fonts and colors, and even the buttons and animations, to match your brand’s style. You can wait to do this until all pages and content are fixed, but since Squarespace is a WYSIWYG builder, I recommend customizing early to see how everything looks as you edit.
You can select pre-existing site style themes by clicking the brush icon at the top-right—professional, playful, friendly, bold, sophisticated, innovative, and quirky.

Alternatively, you can select a custom color palette, typefaces, and buttons.
Note: Changing “Site Styles” will apply the style sitewide, but you can also style individual elements with Squarespace.
Style done? Okay. Now, set all the necessary pages.

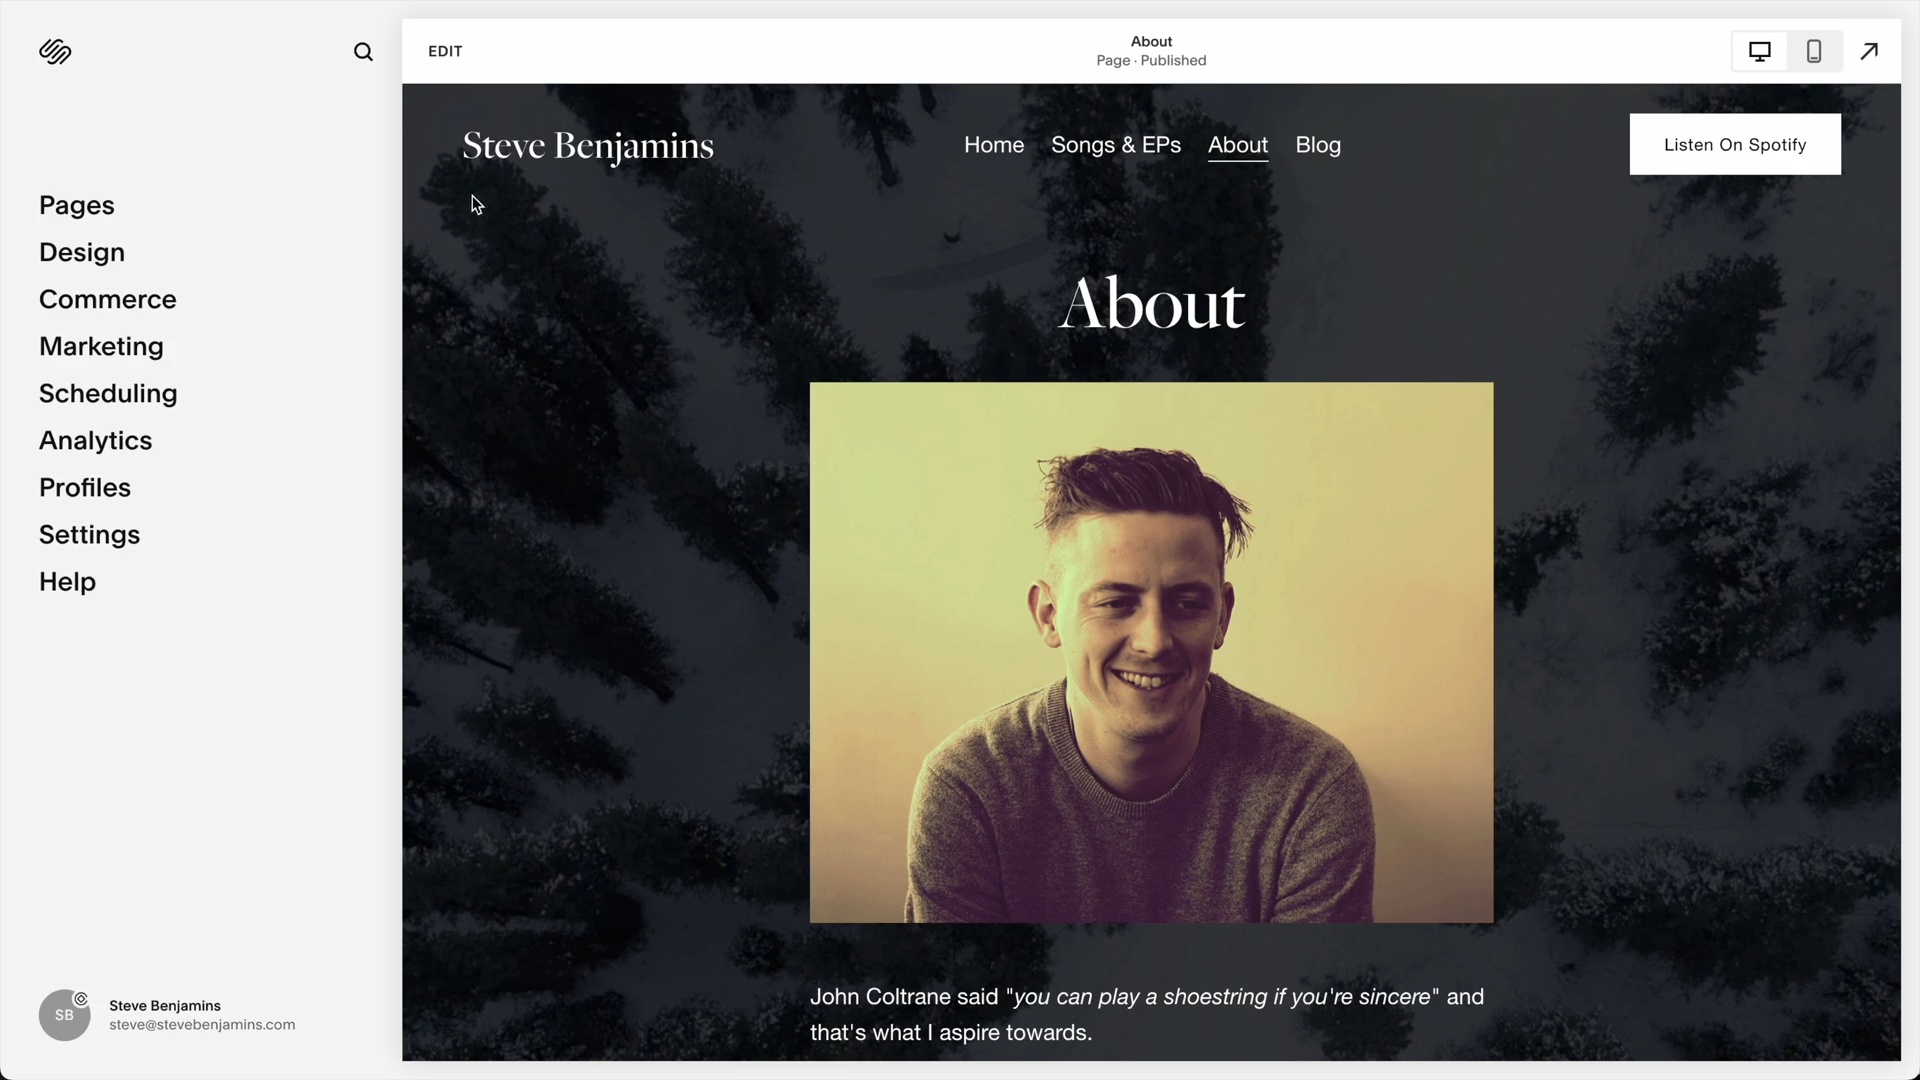
Squarespace calls its latest drag-and-drop editor Fluid Engine. It’s divided into sections and blocks:


Squarespace Overview (1:30)
With the right combination of blocks and sections, you’ll have your pages ready!
Note: Make sure to replace placeholder text and images with your own content. Also, move or resize sections to better structure your site layout.
Customizing the header starts right from when you add the pages. The ones you add to the ‘Main Navigation’ appear in the header, and the ones under ‘Not Linked’ don’t.
Besides that:

Header Elements

Make navigating your site intuitive and user-friendly:
Make sure to review and fine-tune these last details for a professional touch:
If you followed the steps until now, you’ll have the perfect desktop website. But what about mobile? You’ll likely need to edit it to get things lined up how you want.
Here’s me removing unnecessary spacing and structuring our demo website a bit on mobile view—it’s pretty easy with the Fluid Engine:

With these steps, your Squarespace site will reflect your brand identity and offer a user-friendly experience to both desktop and mobile visitors.
Everything looks good? Time to make your website public!
Squarespace has four plans:
Each plan comes with a 14-day free trial and a free custom domain if you choose an annual plan.
Learn more about each of these plans here.
A domain name will give your site a professional, brandable address.
You can claim a free domain name if you choose an annual Squarespace plan.
Otherwise, you can also purchase a domain name directly through Squarespace Domains. It’s one of the largest domain name registrars, and you’ll be able to connect your Squarespace-purchased domain to your Squarespace website seamlessly:
You can also use an existing domain you already own. Squarespace provides simple steps to connect an external domain:
With your domain set up, it’s time to go live. In the Squarespace homepage editor, click the “Publish” button.
Now promote your new site through various channels:
Your work doesn’t end at launch. An effective website requires ongoing maintenance and optimization:


